HEXO+Next主题配置笔记
相关环境配置
下载最新node.js安装,运行node -v和npm -v,显示正常的版本则说明安装完毕。
Hexo安装
1 | npm install hexo-cli -g |
执行以下命令确认hexo已安装好,该命令会显示hexo的版本及依赖的包。
1 | hexo -v |
Hexo创建及运行博客
创建一个空白文件夹blog,作为博客根目录,在该根目录下,执行以下命令初始化博客
1
hexo init
全文显示配置
Hexo 的 Next 主题默认是首页显示你每篇文章的全文内容。想要在网站首页只显示每篇文章的部分内容,不要全部内容都展示出来。
1:使用npm安装hexo-excerpt
1 | npm install hexo-excerpt --save |
2. 打开 themes/next 目录下的 _config.yml 文件,找到这段代码:
1 | Automatically excerpt description in homepage as preamble text. |
把false改成true就行了
配置头像
打开 themes/next 目录下的 _config.yml 文件,找到这段代码:
1 | avatar: |
在url处输入地址
注意这里的路径指的是相对于 themes 的路径
latex公式渲染
目前Next提供两种数学公式渲染引擎,分别是Mathjax和Katex。 使用 Mathjax 进行数学公式渲染,需要使用 hexo-renderer-pandoc 或者 hexo-renderer-kramed (官方不推荐)作为 Hexo 的 Markdown 渲染器。
1 | npm un hexo-renderer-marked # 先将原有的渲染器卸载 |
修改配置文件在主题配置文件_config.yml 中找到:
1 | math: |
将mathjax的false改为true。注意,mathjax和katex只能有一个置为true。
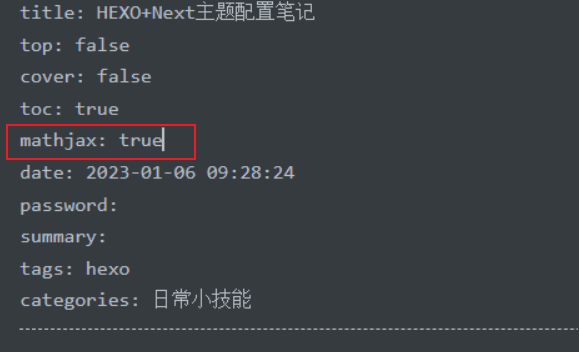
注意:every_page选项,默认为false,表示只对文章开头(front-matter)含有mathjax: true语句的文章进行渲染。为true表示会所有文章进行渲染:

本地安装pandoc使用pandoc还需要在本地安装,在官网上下载pandoc,直接安装即可。
安装完后,电脑重启
重启后,hexo clean,hexo g,hexo s就可以看到效果了
hexo建立草稿和发布草稿
建立新的草稿: 1
hexo new draft <title>
本机预览草稿
1 | hexo S --draft |
将草稿发布为正式文章
1 | hexo P <filename> |
hexo 本机预览&部署github
1 | hexo g == hexo generate #生成 |
hexo 分类+多级分类
打开分类
首先在thems的config文件中取消注释
1 | menu: |
生成“分类”页并添加tpye属性
打开命令行,进入博客所在文件夹。执行命令
hexo new page categories
找到index.md这个文件,打开后默认内容是这样的:
1 | --- |
添加type: "categories"到内容中,添加后是这样的:
1 | title: 分类 |
单级分类
1 | categories: |
多级分类
1 | categories: |
父子分类
1 | categories: |
hexo 新建文章
hexo new title
hexo图片显示问题
图片路径写相对路径,是:./哈工大操作系统实验系统调用\image-20231119230212969.png而不是.\哈工大操作系统实验系统调用\image-20231119230212969.png虽然在windows下都可以,但是好像后者显示在网页上就生成不出来